

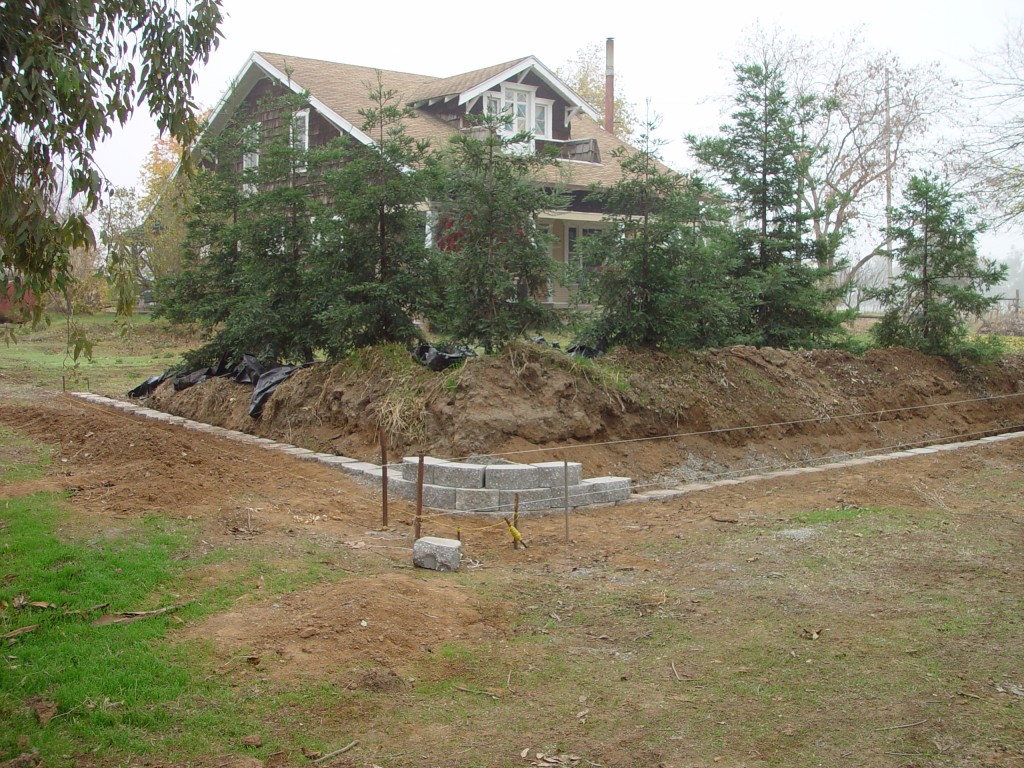
Approximately a decade ago (November/December 2002 to be exact), Brian and I developed a fascination for a particular conifer while visiting family in Chico, CA. After a bit of sleuthing, we discovered the conifers were in fact Redwoods. In fact a hybrid of the Sequoiadendron giganteum; the world’s largest trees (by volume). These hybrids have a better chance of survival in the hot Sacramento Valley. With visions of Redwoods dancing in our heads and a corner of unkempt land in the front yard of the Lazy B, we set out to establish our very first Redwood grove (as seen in the following picture).
However, the location required a bit of landscaping and of course a retaining wall to keep the dirt from inevitable erosion. We actually had some dirt brought in before planting our trees.
Supplies required: tractor, shovel, pickaxe, level, mallet, chisel, string line, gravel, 3″ perforated drain pipe wrapped in fabric and last but not least retaining wall block. These concrete blocks interlock and require no mortar; and are best for low level walls.
I will provide you a brief rundown of what we did, but the Lowe’s website explains it best!
I cannot stress this enough, but the key to successful retaining wall construction is a level foundation of blocks. The foundation course must be below-ground level so that the soil will hold it firmly in place. To accomplish this a layer of gravel is put down, and each retaining wall block is laid and leveled one by one (unless you’re lucky enough to have a crew). During this process use of a level and a string line are essential. Once this first course is completed, the remaining courses of block should be laid with the greatest of ease (if you’re strong like bull)!
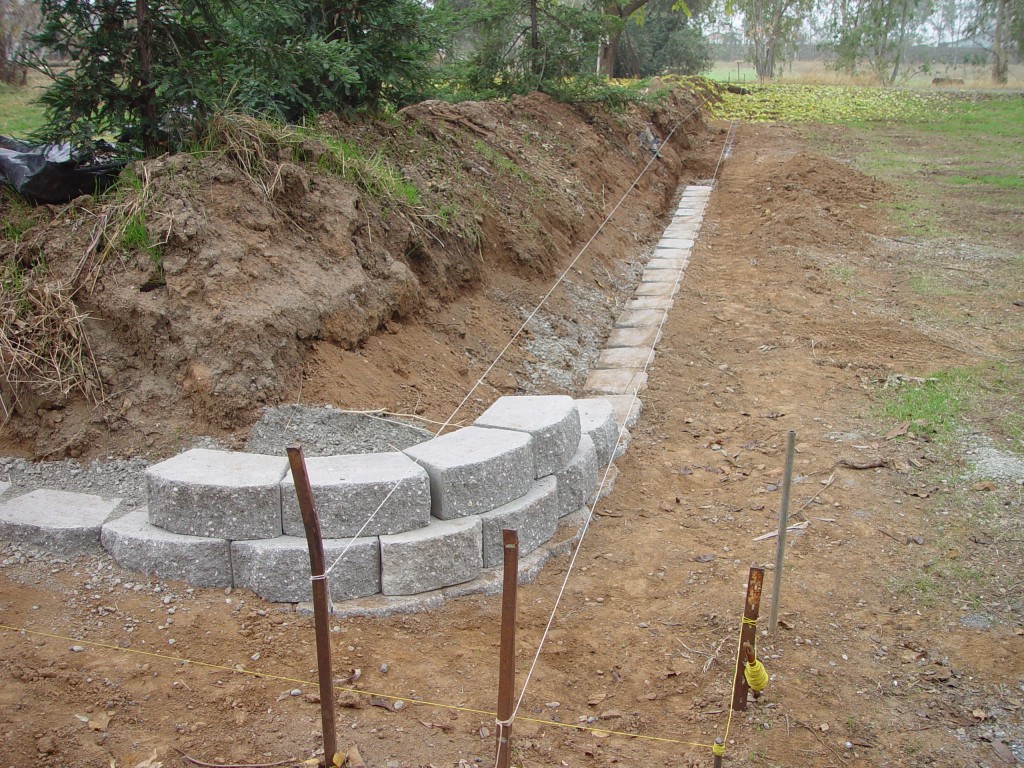
You are unable to see it, but we backfilled the wall with gravel and the perforated drain pipe (at a slight angle) to aide in proper drainage. Grading the area above also serves to help keep the water away.
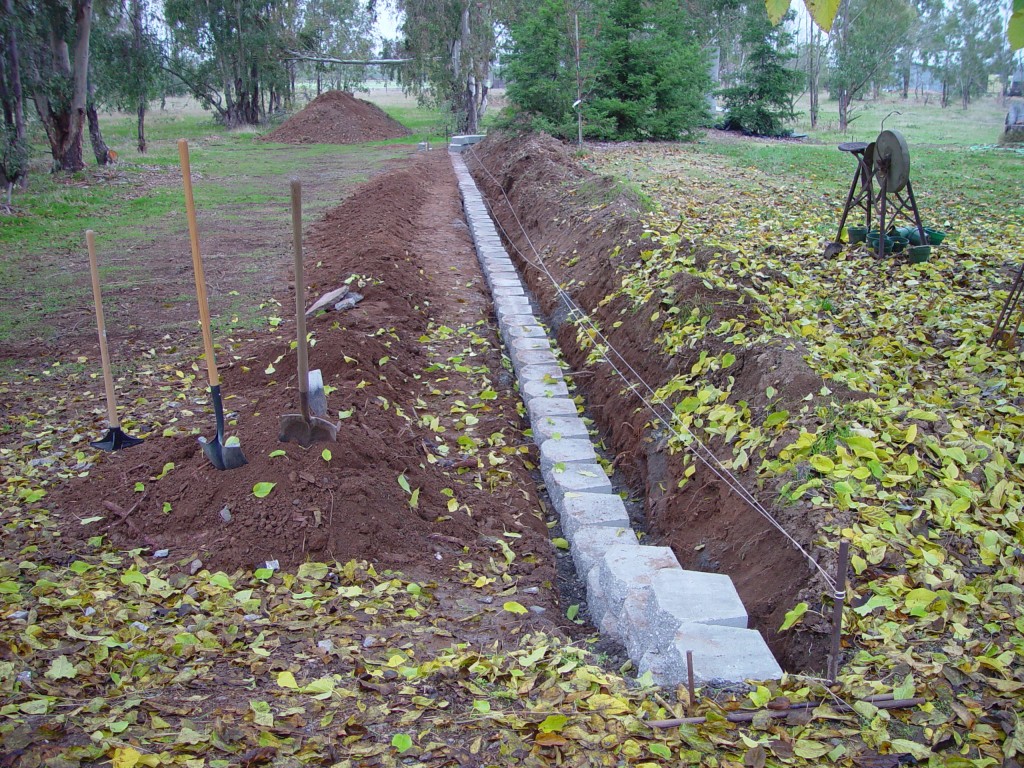
The fruitless mulberry tree roots were a bit intrusive and the use of a pickaxe was a must.
![]()
Nothing (but the roots) got in our way … we continued on into the night! We persevered and all was a success!
![]()
The Lazy B retaining wall … not too shabby for a couple of amateurs!
One may ask, “What about those gaps in the retaining wall?” I don’t know that the gaps at the bottom are necessary, but that’s where the drainage pipes end. This is something you may want to research if you plan on installing your own wall.
by admin
You guys are doing a fantastic job so far. I can’t wait to see the next project. However, I am afraid of showing the spouse as I suspect there will be delusions of grandeur floating through somebody’s head!
Why thank you Tina! Sorry it’s taken me “forever” to respond. I’ll be posting more shortly with all our upgrades and additions. We have visions of grandeur too, but they are slowly coming to fruition; you two will have to come out sometime and check it out.